Install WordPress 5 In CentOS 7 or Oracle Linux 8.5 And VMware

This tutorial presumes you have CentOS 7 or Oracle Linux 8.5 installed with Apache, MariaDB and php7.x.  You need to be logged in to the server using Putty or equivalent as an administrator.  During your server installation, you should have already installed nano and wget.

I highly recommend you create a new document in NotePad++ or your favorite text editor.  Copy the commands found below into your new document where you can then make changes such as server name, user name etc.  You can then copy and paste these lines of code one at a tine into Putty.  This will give you a reliable document showing exactly how you created your WordPress installation.

Now lets get started.

It is recommended to disable SELINUX for WordPress to function fully.  Use the code below to check the SELINUX status.  If you wish to disable SELINUX, use the following tutorial before installing WordPress.


Check status of SELINUX.
sudo sestatus

Disable SELINUX.
sudo nano /etc/sysconfig/selinux

Edit this line as shown.
SELINUX=enforcing to SELINUX=disabled

Save the file and reboot.
sudo systemctl reboot -i

Log back in using Putty and check the status of SELINUX.
sudo sestatus

SELinux status: disabled

Install WordPress.

With MariaDB installed and secured, it is time to create a database to accommodate WordPress files during & after the installation. For this tutorial we will be using the local domain 192.168.1.120/test/.
Log in to the database server.
sudo mysql -u root -p
Enter password:

Now enter the root password.
root password
Welcome to the MariaDB monitor. Commands end with ; or \g. Your MariaDB connection id is 16900 Server version: 5.5.68-MariaDB MariaDB Server Copyright (c) 2000, 2018, Oracle, MariaDB Corporation Ab and others. Type ‘help;’ or ‘\h’ for help. Type ‘\c’ to clear the current input statement.
MariaDB [(none)]>


Create a database for WordPress.
CREATE DATABASE db_name;
Query OK, 1 row affected (0.00 sec)
Next, create a user that will be associated with the WordPress database.  Be sure to leave the single quotes in place.
CREATE USER 'db_user'@'localhost' IDENTIFIED BY 'password';
Query OK, 0 rows affected (0.00 sec)

Next, grant all permissions to the user on the database.
GRANT ALL ON db_name.* TO 'db_user'@'localhost';
Query OK, 0 rows affected (0.00 sec)

Finally, flush the privileges to save all the changes.
FLUSH PRIVILEGES;
Query OK, 0 rows affected (0.00 sec)

To exit from the database server, run EXIT.
EXIT;
Bye

To apply the changes, restart the MariaDB server by running the following command.
sudo systemctl restart mariadb

With the WordPress database already created, proceed and download the WordPress tarball from WordPress repository as shown.
sudo wget http://wordpress.org/latest.tar.gz
Next, extract the WordPress tarball file as shown.
This unpacks the WordPress tarball to your /home directory and extracts the tarball into a folder labeled wordpress.  This contains all the WordPress files that will be essential as we move along.
sudo tar -xvf latest.tar.gz

Move the ‘WordPress’ folder to the webroot directory /var/www/html.
sudo mv wordpress /var/www/html/

Change the directory name from wordpress to anything that identifies your domain.
sudo mv /var/www/html/wordpress /var/www/html/test

At this point, you need to change permissions of the new folder to user ‘Apache’ .
sudo chown -R apache:apache /var/www/html/test

Change file permissions as shown below. -R757 will allow your administrator to alter files.
sudo chmod -R 757 /var/www/html/test*

Next, you need to create the upload directory manually.
sudo mkdir -p /var/www/html/test/wp-content/uploads

We need to give the Apache webserver write permissions to the newly created uploads folder.  This will enable Apache to create directories and files.  You need to su to root to accomplish this.
su root

Issue the command below.
chown -R :apache /var/www/html/test/wp-content/uploads

Return to the administartor.
su administrator

Navigate to the directory you created earlier.
cd /var/www/html/test/

Rename the wp-config-sample.php to wp-config.php as shown.
mv wp-config-sample.php wp-config.php

Open the newly renamed file using your favorite text editor.  I will be using nano.
sudo nano wp-config.php

Fill out the database details accordingly as defined when creating the WordPress database. Be sure to leave the single quotes in place.
define( 'DB_NAME', 'db_name' );
define( 'DB_USER', 'db_user' );
define( 'DB_PASSWORD', 'pasword' );

Save and exit the text editor. The final step is to complete the installation via a web browser. To do this, launch your web browser and enter your server’s IP address or domain name as shown below.
http://192.168.1.120/test/

The first page will prompt you to select the language.

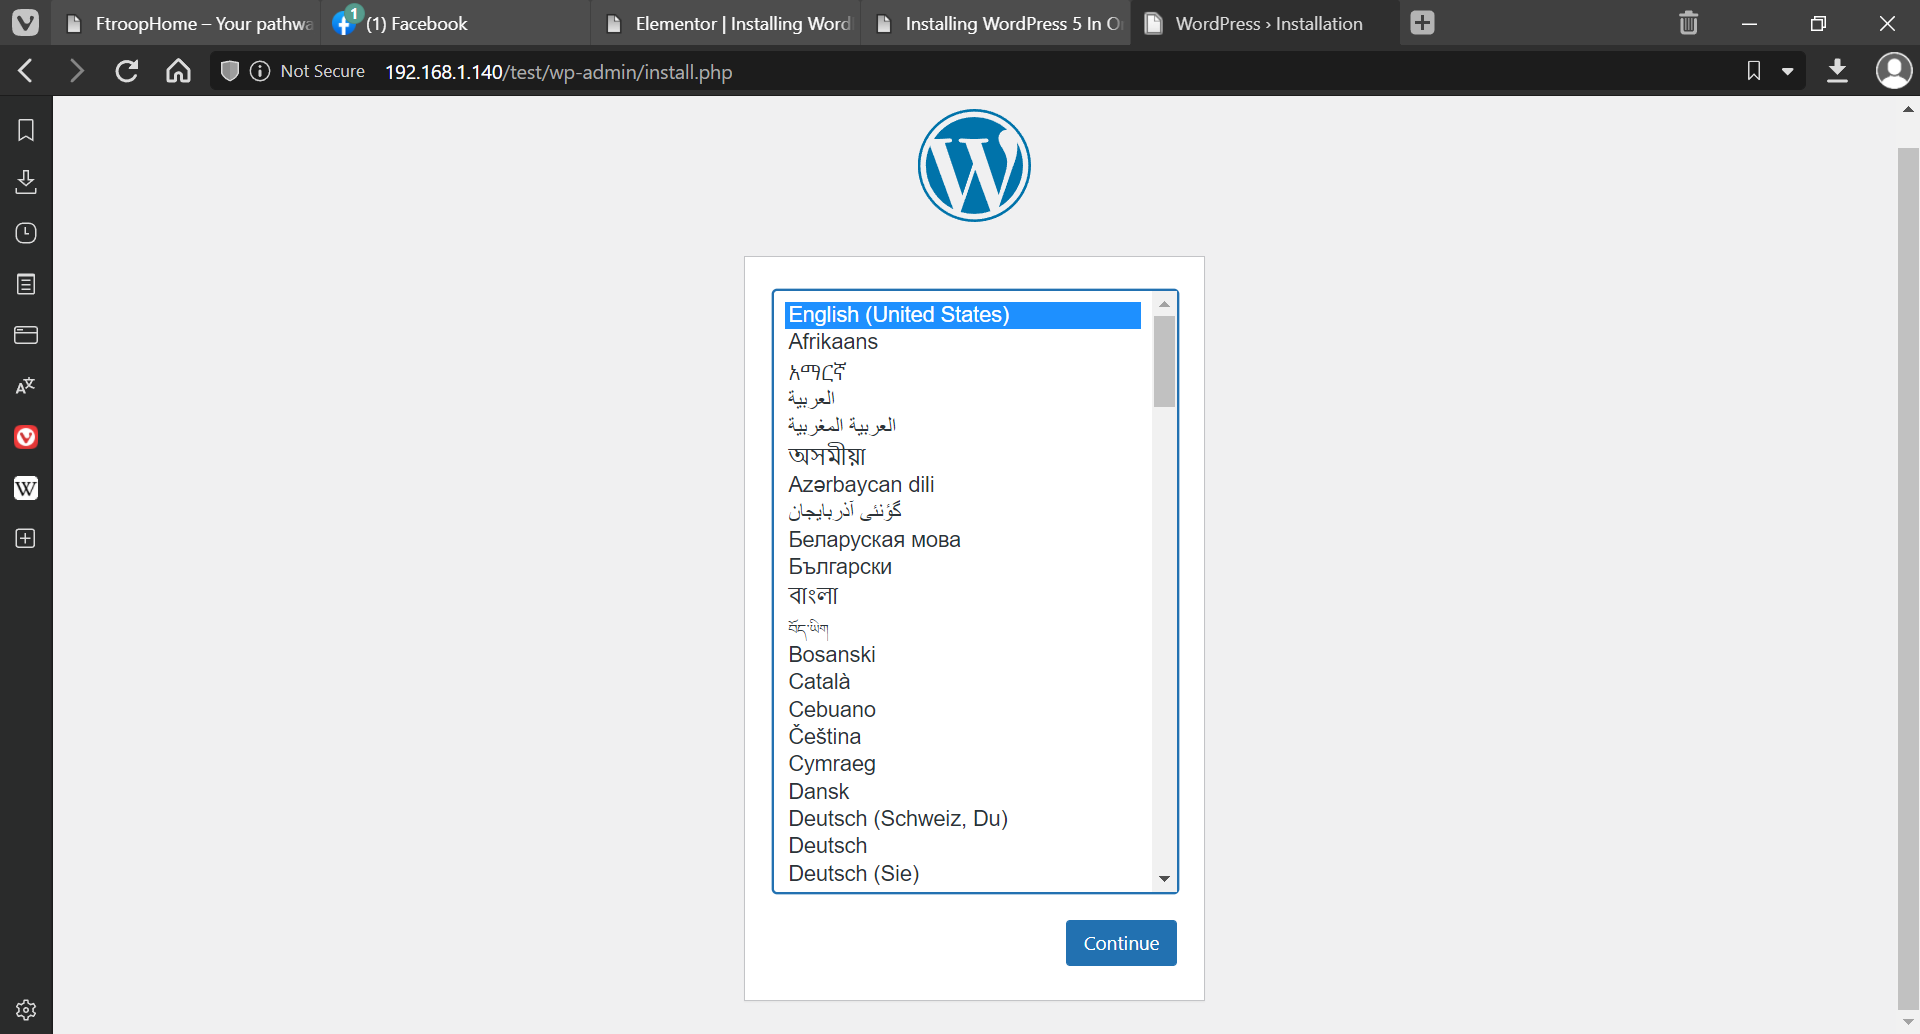
Click on your preferred language and hit the ‘Continue’ button. In the next step, fill in the additional information required such as ‘Site Name’, ‘Username’ , ‘Password’, and ‘Email address’.

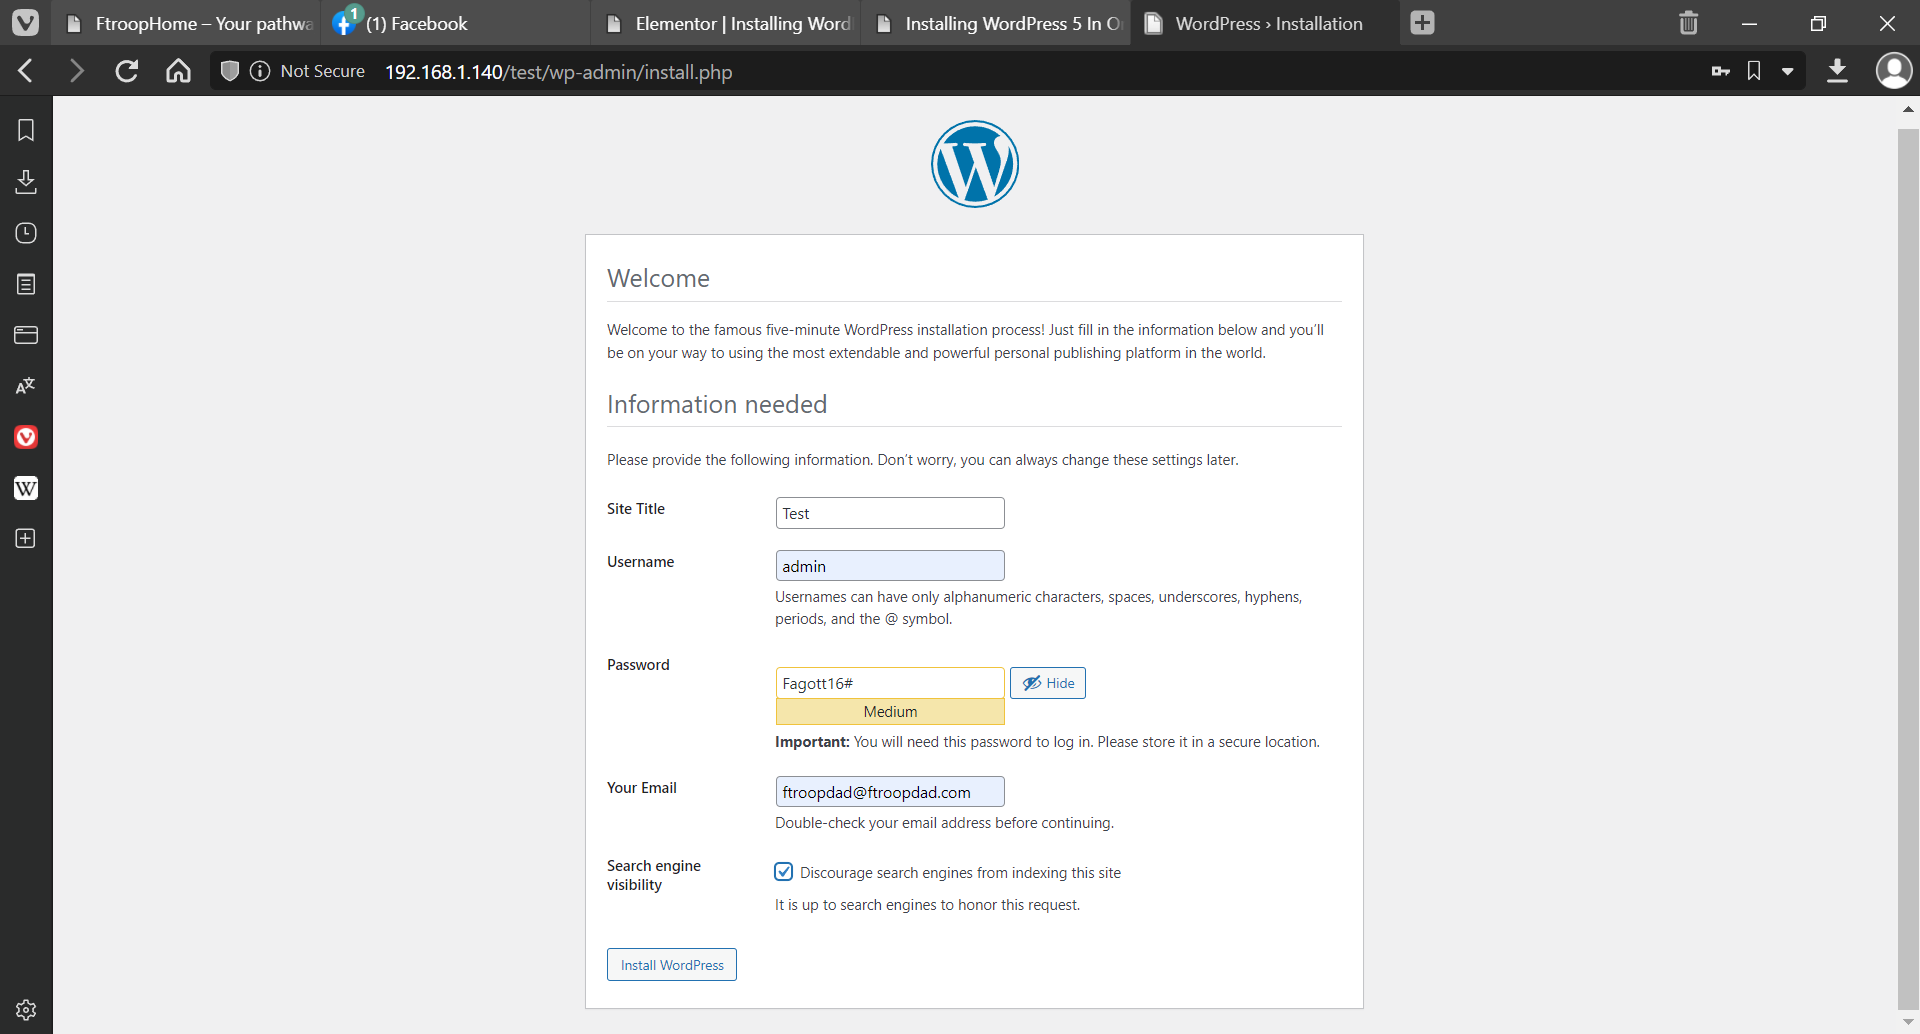
Once you’ve filled in all the required fields, click on ‘Install WordPress’. If all went well, you will be directed to a “Success” page. Click the “Login” button to head to your login page.

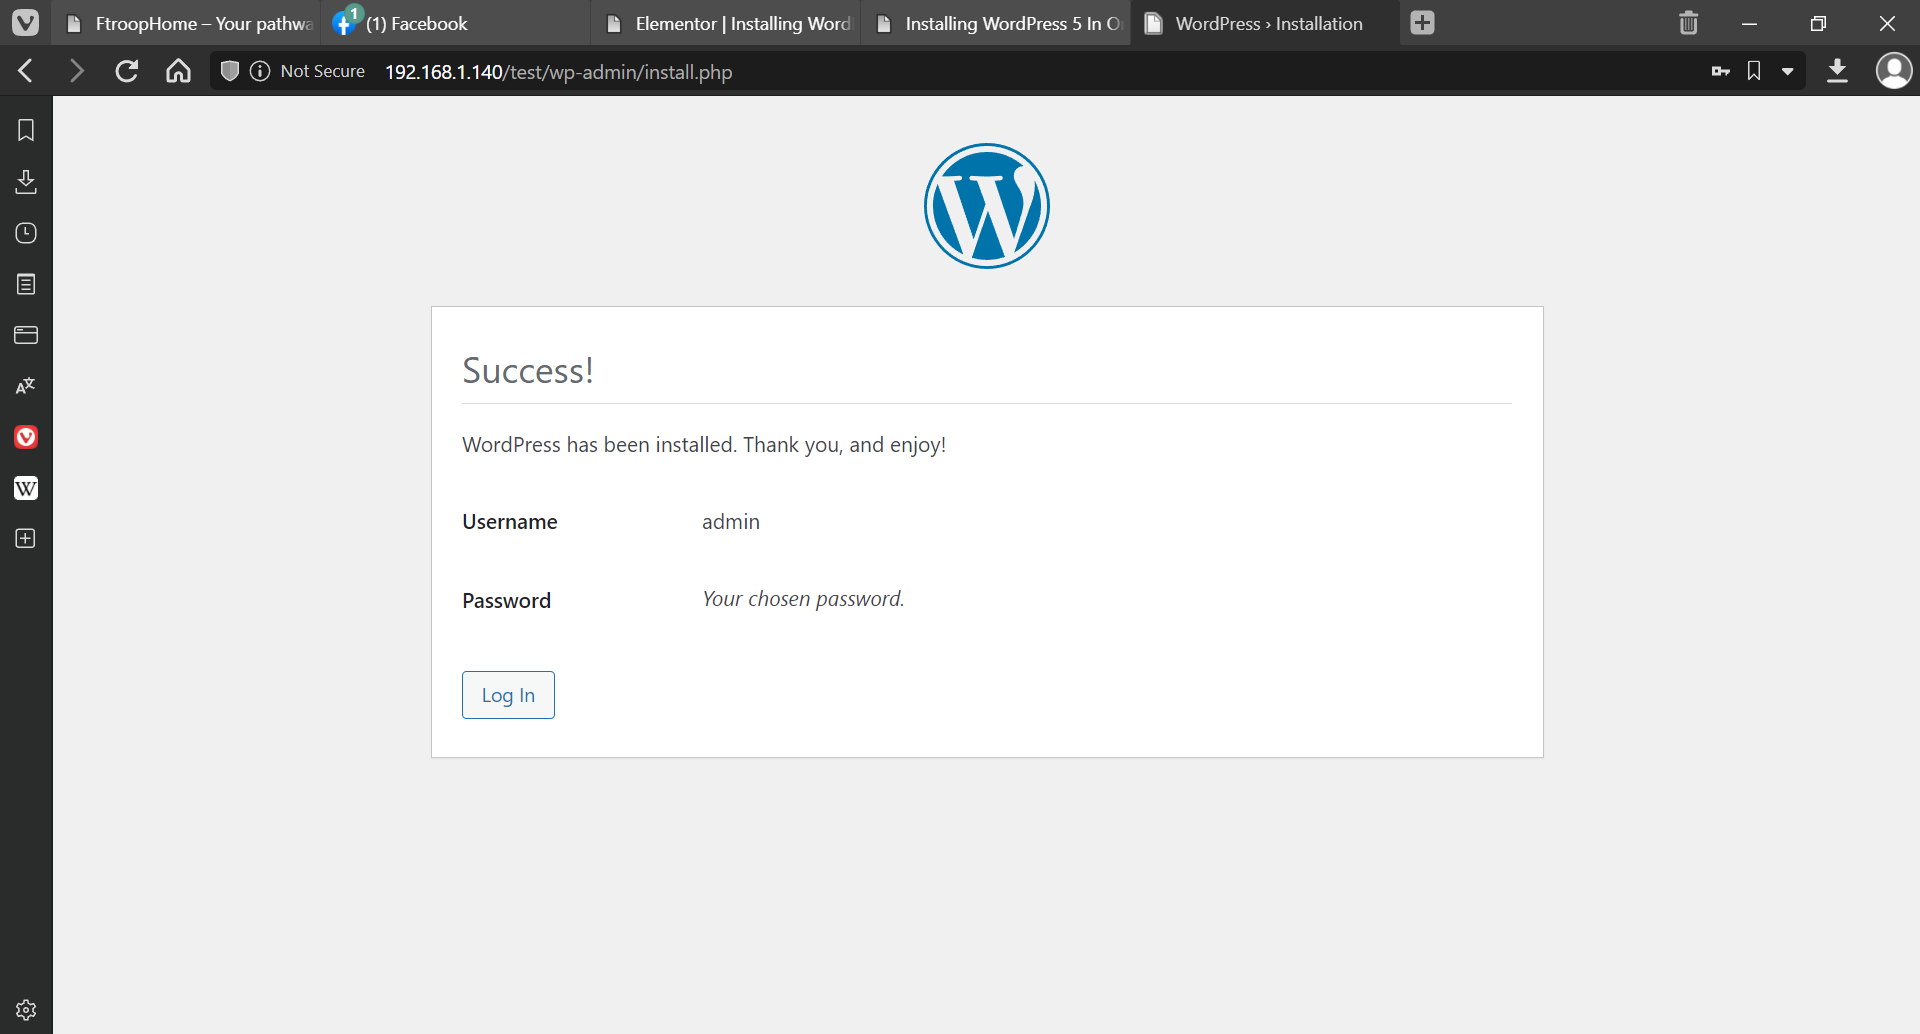
Fill in your credentials to log in.

Click Log In and you’ll head to the WordPress Dashboard.